Creating a Gameboy Advance Game
Recently, I gave a short presentation at work about what I learned in developing a small demo game for the Gameboy Advance. I thought I’d share it here as well, since I think it turned out well!
I’ve always had an interest in homebrew software. If you’re not familiar, almost every device and videogame console has a homebrew community - that is, people who have figured out how to jailbreak their devices and get unlicensed code to run on them. Nintendo consoles have pretty vibrant communities in particular due to their global popularity.
The Gameboy Advance was Nintendo’s third generation handheld videogame console, and it was my absolute favorite thing when I was a kid. Something about the device’s limitations led to a slew of games with great art styles and gameplay, and nostalgia is a hell of a drug. So I thought… what would it take for me to get something running?
There were three main challenges I had to overcome to do this:
- Hardware limitations
- (Lack of) Documentation
- Development-test loop
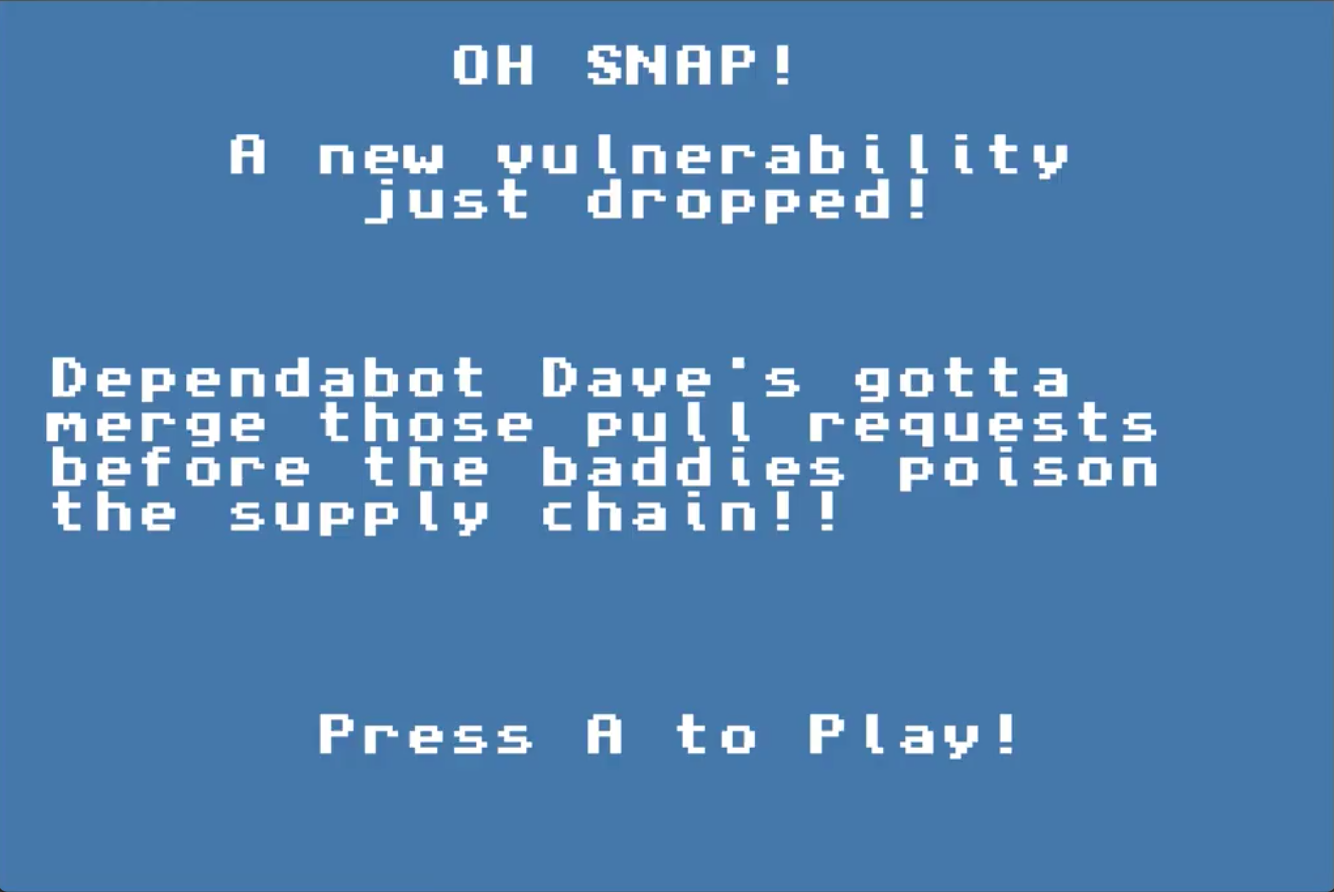 The title screen
The GBA Hardware
I’d like to talk a little bit about how the picture you see on the screen actually gets there. Going into this, I had naively assumed that the pixels are “painted” on the screen, by which I mean that the software would handle assembling a picture for each frame and then update the display pixels to match.
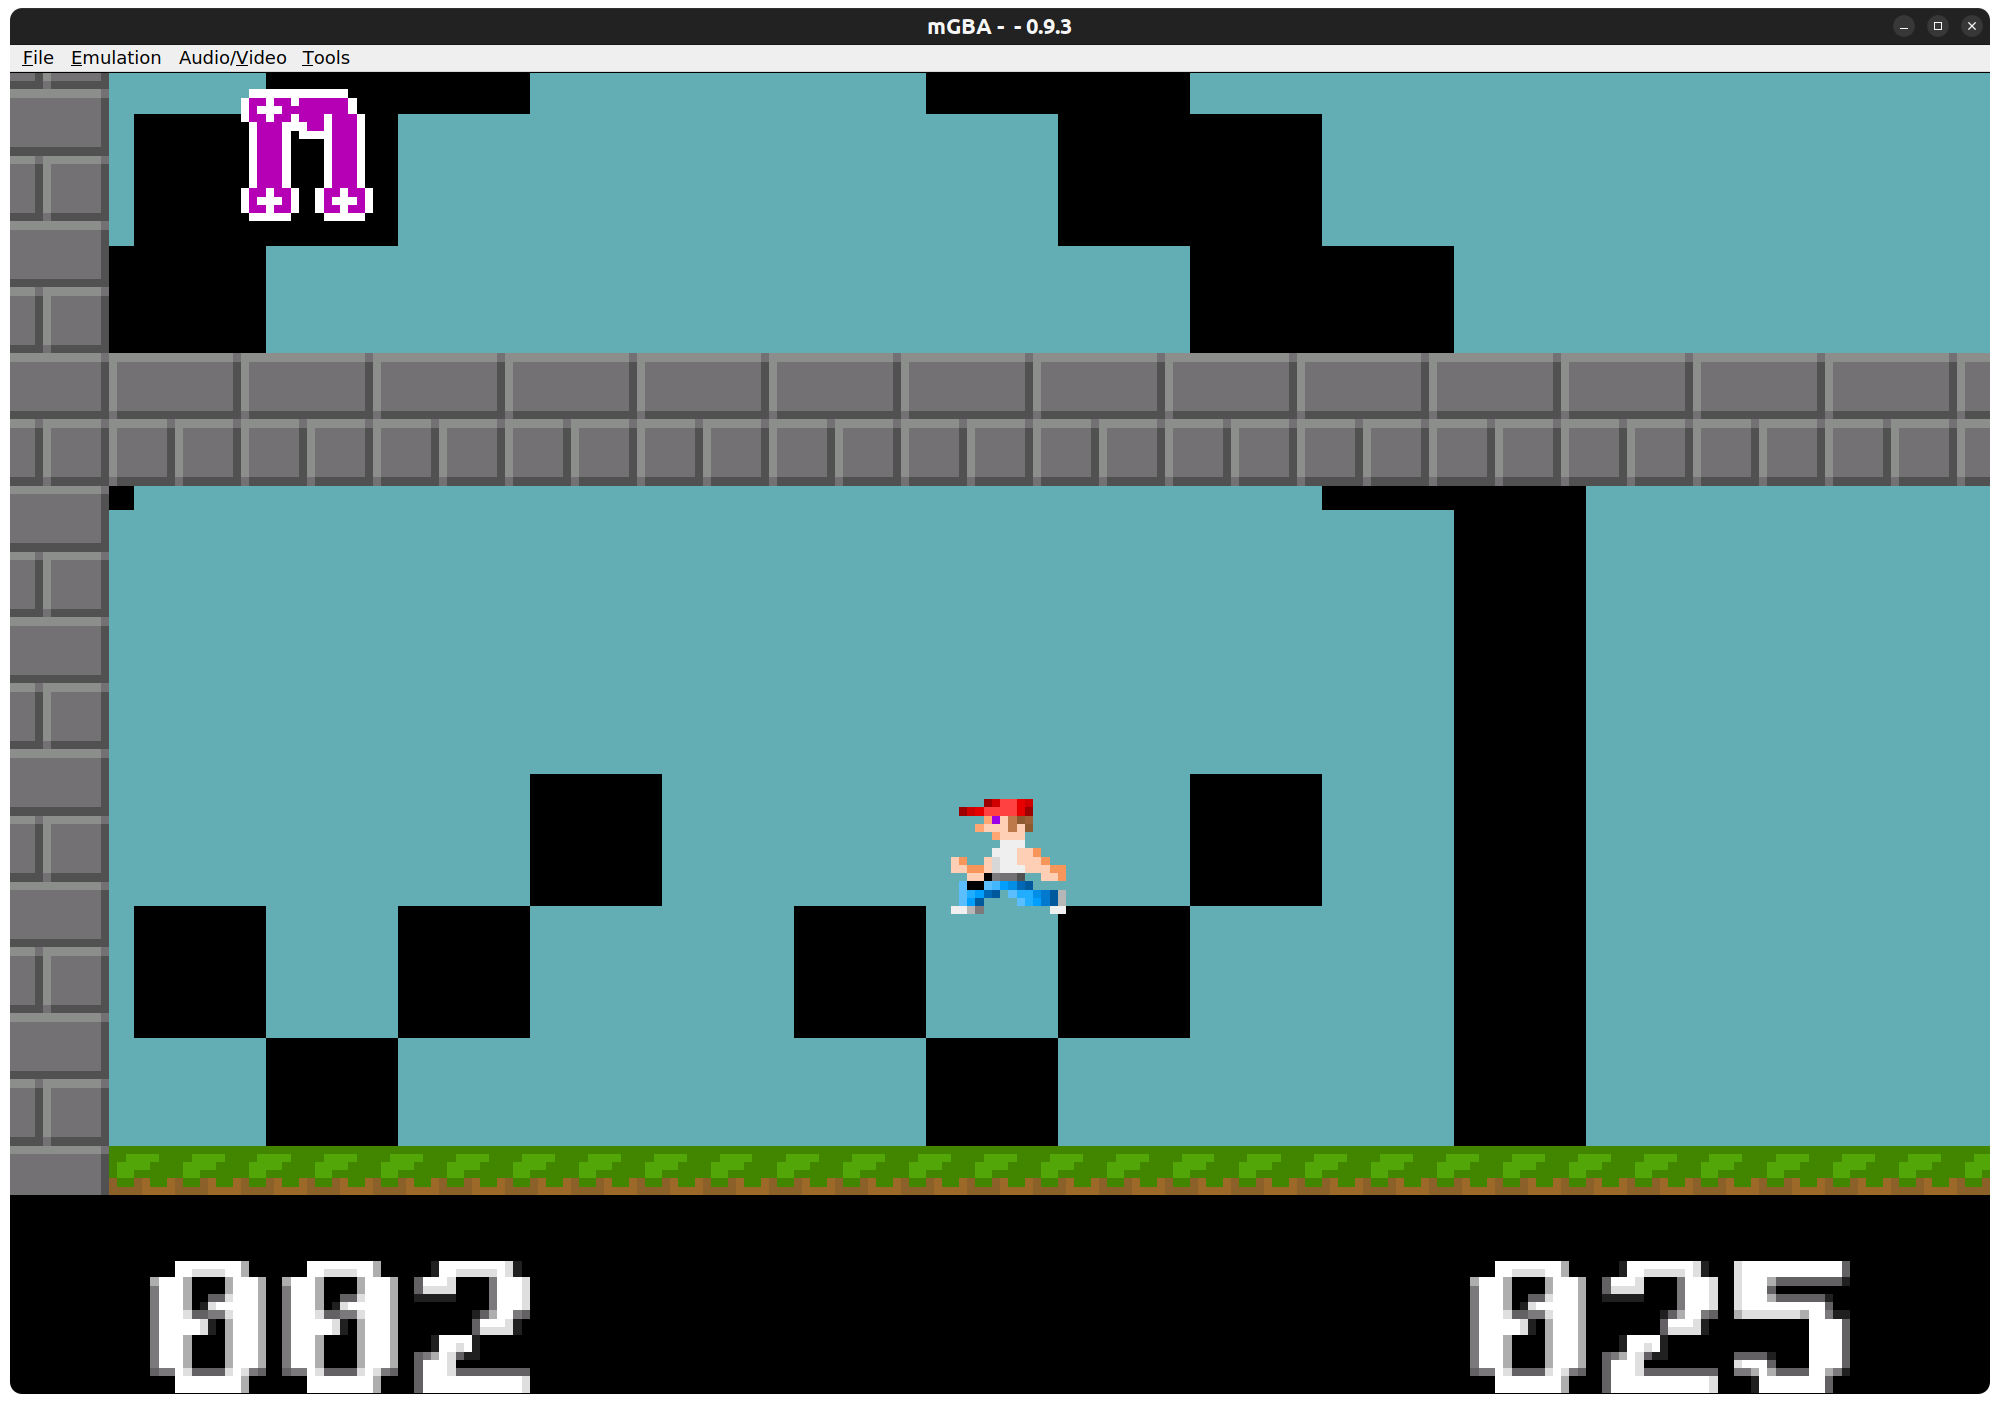 Dependabot Dave in action
Now, you can do that, but the problem is, the GBA’s processor is too slow to keep up! The GBA has a 16.8 MHz 32-bit ARM7 TDMI processor - single core, of course - which is comically slow by today’s standards. If you try to redraw the entire screen at every stage of your game loop, you’d only be able to get about halfway through before the hardware VBLANK happens and you have to start over.
Now, if you’re using a game engine like Unity, there are abstractions provided to you for handling things like character models, on-screen sprites, animations, and all kinds of stuff like that. In fact, if you’re developing for a modern console, Unity is a popular choice nowadays because they have ports available for everything. But not the GBA, because the hardware just can’t take it!
So, what I found fascinating is that the GBA provides hardware support for things like this. The GBA has a few different graphics modes depending what you need - for example, Mode 3 will provide access to the screen in the way I described above: it will let you draw pixel-by-pixel with full 8-bits-per-pixel color. If you were around for the Super Nintendo hype, you might also know about Mode 7, which is what makes pseudo-3d games like Mario Kart possible. However the most common and most hardware-efficient modes are the tile modes, such as Mode 1.
In Mode 1, you have access to 4 tiled backgrounds and a bunch of space for hardware sprites. A tiled background is exactly what it sounds like: given a tile set, and a mapping of how to place those tiles, the hardware will handle drawing them to the screen according to the map you provide. In my game, I used a tool called Tiled which is a generic, open source map-editing software, and a custom converter for the files it produces to load them into memory.
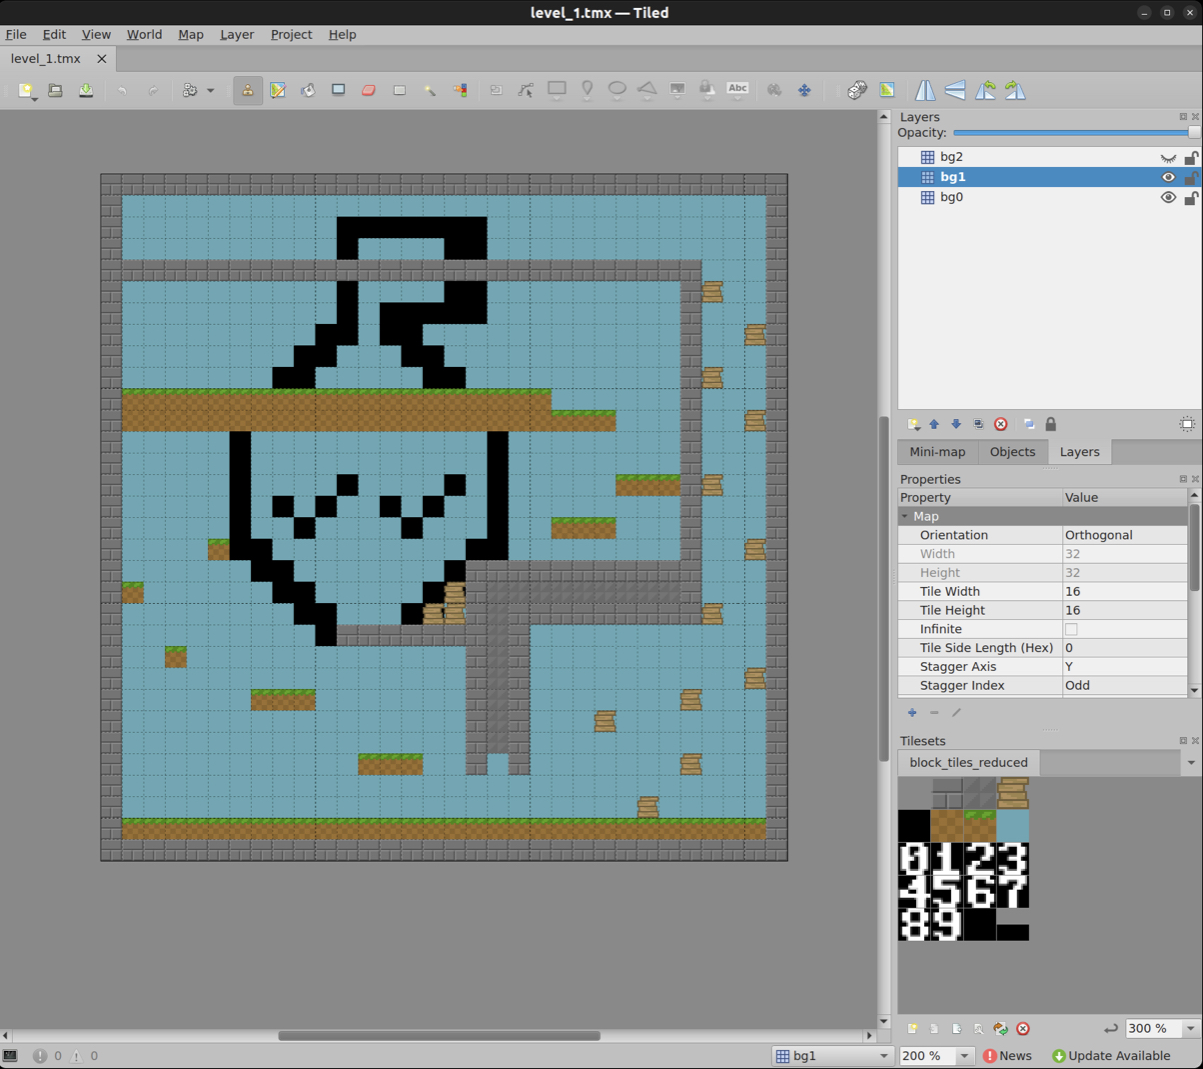 Editing a level in Tiled
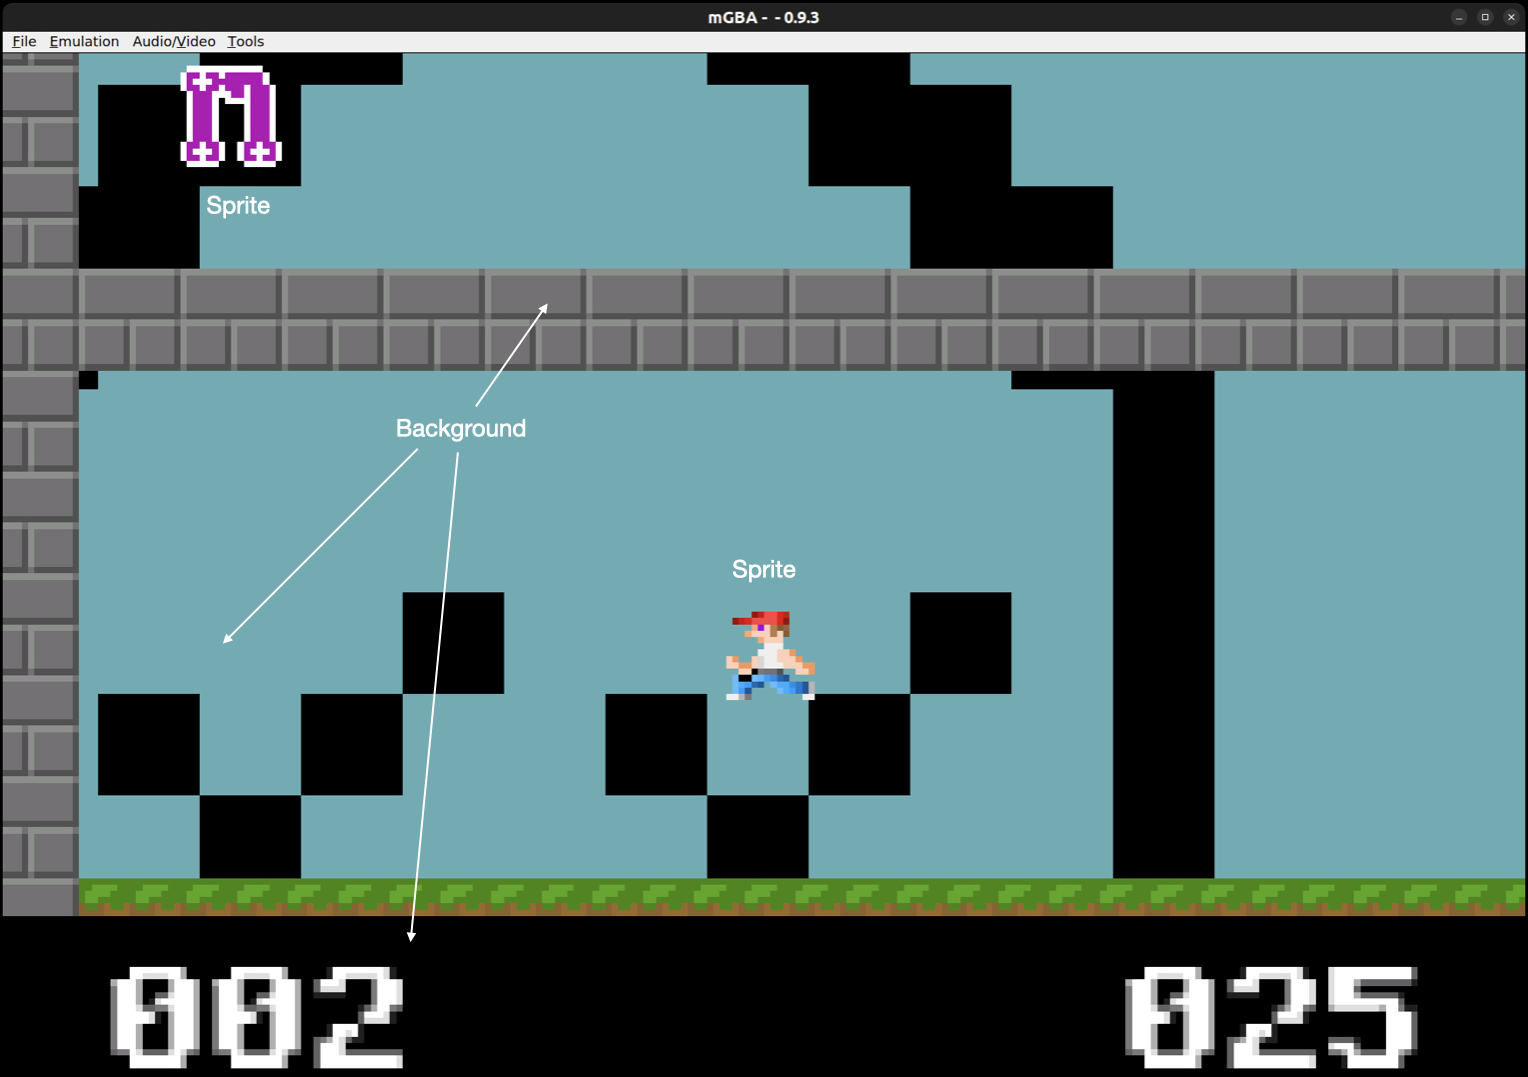
You also get access to sprites. Sprites are little things you can move around the screen, animate, really do whatever you want. They are different from backgrounds because you don’t provide a tile map for them, they are just single tiles that can move around, and they are stored in different parts of memory.
Online Resources
The base of the development environment is a toolchain called devkitARM. This is part of the larger devkitPro project, which, like many open source projects, is mostly kept up by one maintainer. The toolchain for GBA is pretty straightforward: it is a distribution of gcc for ARM, so if you’re comfortable compiling C/C++ code, it provides a standard environment. I won’t pretend to be an expert here, but I can fake my way through Makefiles and the like. Crucially, it also provides a small library of helper functions macros for correctly accessing the parts of memory for different functions of the hardware.
devkitARM also provides a few tools for things like image processing. Now I keep referring to the limitations of the hardware. One of the things an engine like Unity would do is provide a pipeline for loading up arbitrary images into your game. The GBA can’t do that - I can’t provide a raw PNG file and have it load that from memory. You have to process whatever image you want into raw bytes and compile that into your application, and for that, a homebrew developer made a tool called Grit. Grit is very powerful but it has an inscrutable array of arguments that are not intuitive, to me at least. At one point, in order to figure out what I was doing wrong with loading tiles into memory, I went into the grit source so I could determine what flags to pass.
$ grit "$<" -ftc -mLs -gt -gT'FF00E1' -gB8 -Mw2 -Mh2 -pu16 -o "$ (SOURCES) / $ (basename $@)"
The invokation of grit I created for my Makefile
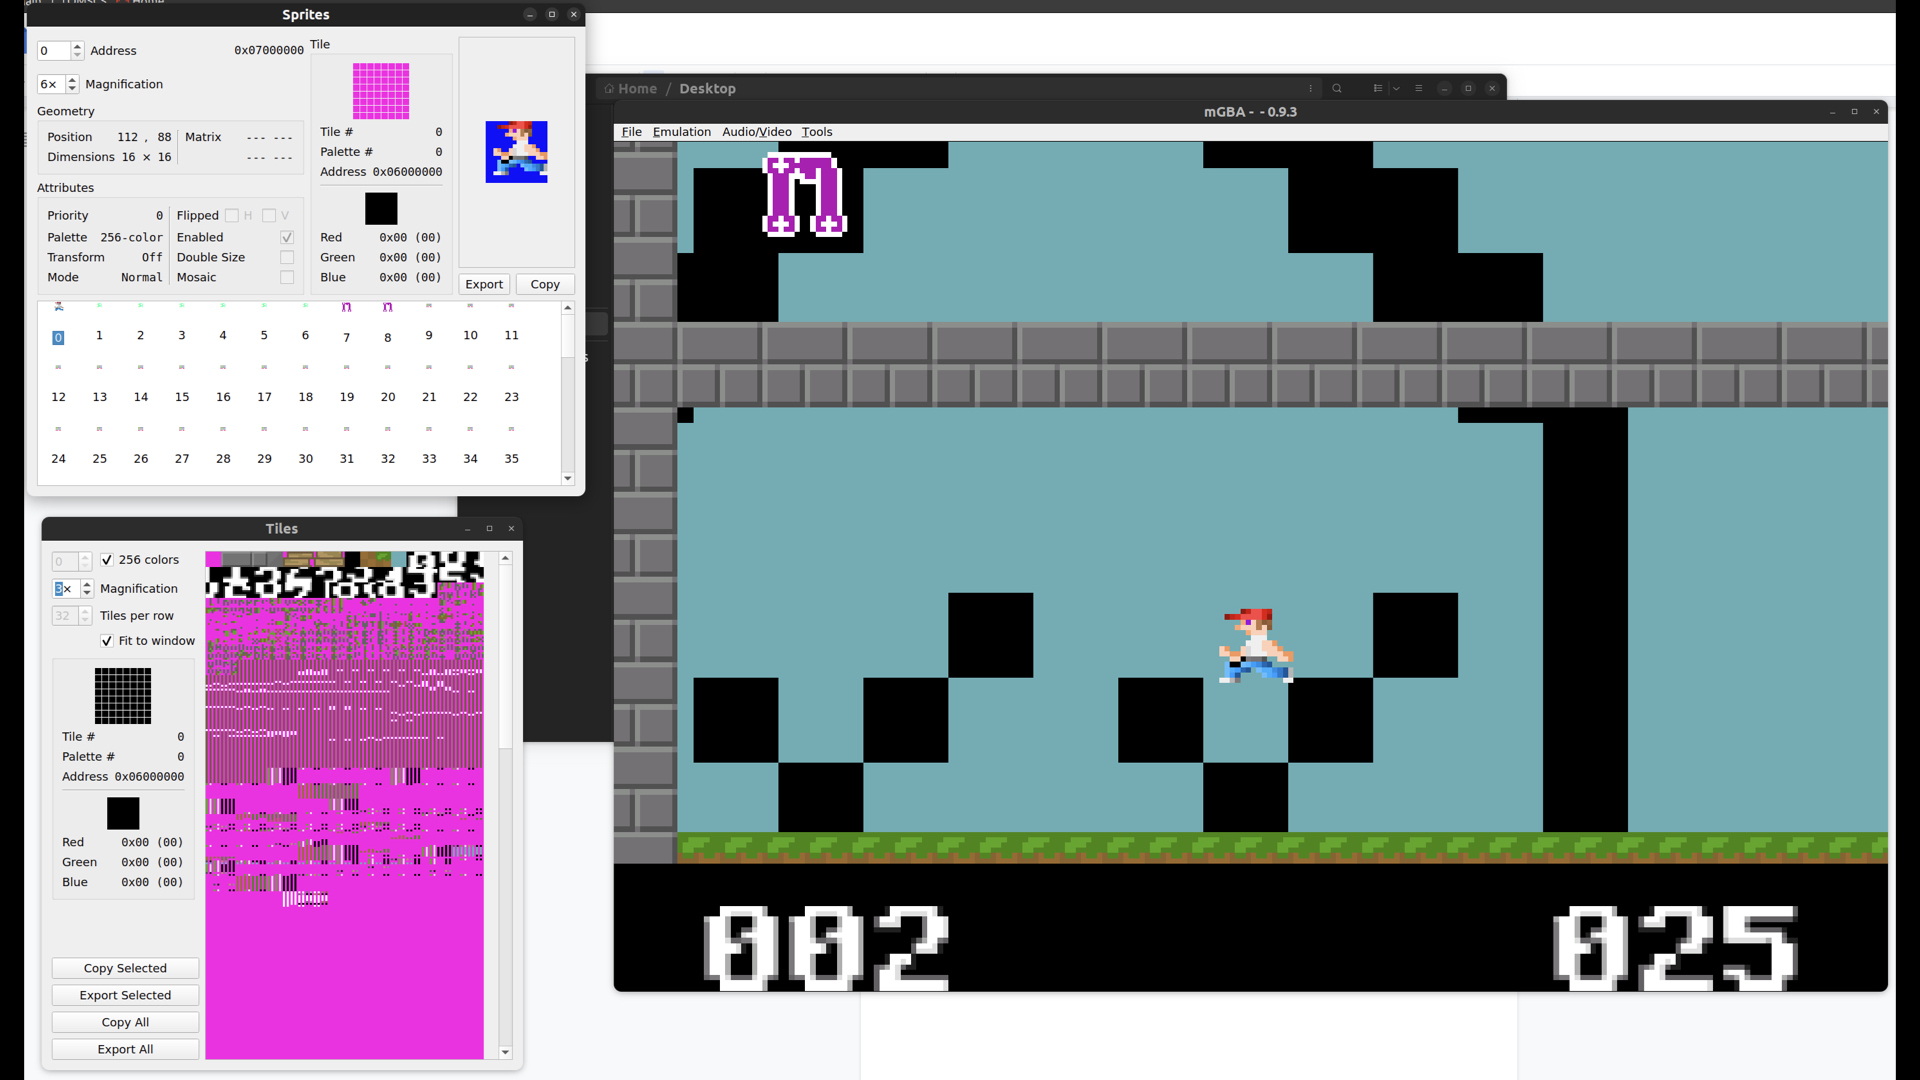
My demo uses grit in the Makefile to process the PNG images I use for the tiles for the backgrounds and the sprites into the correct format so I can load them into background and sprite memory. Here I will show another crucial piece of the development experience: the emulator. I use the mGBA emulator because it has a great interface and is known to be a very accurate emulator of the hardware. It also provides a lot of really cool debugging features, such as an interface to view the tiles and backgrounds loaded into memory. Very helpful!
Development in VS Code
Finally, I want to talk about the dev test loop. Unsurprisingly, I wanted to use Visual Studio Code. Even though there are IDEs for C/C++ that have been around much longer, VS Code has a lot of great extensions that make development a lot nicer than other IDEs that I have used. A typical test loop for making this was something like
$ make && mgba-qt ProjectBlazt-GBA.gba
And this starts mGBA and the ROM from the beginning. This works fine, but what if I want to step through the code? Sometimes I want to debug something further, to see if things are being calculated the way I want them to be. I mentioned earlier that devkitARM is a distribution of gcc for the ARM processor - well, that also includes gdb, the standard debugger. mGBA also includes a gdb server, so you can connect GDB remotely to your running game. And finally, with an extension, VS Code can remotely attach to a GDB session and load the debugger for an interactive session. Very handy!
Conclusion
The full source code of the demo (and a devcontainer configuration that will let you compile it) is available on GitHub: mrysav/ProjectBlazt-GBA. A compiled version of the ROM is available there as well (expect bugs! It’s just a demo, after all.)
There were a few excellent resources I used a lot to help me along:
- The Guide to Implementing 2D Platformers
- Tonc’s Guide to the GBA
- Ian Finlayson’s CPSC 305 Computer Systems course on the GBA
- Kyle Halladay’s GBA Programming Tutorials
- Game Programming Patterns by Bob Nystrom
I also took art from a few different places, including:
- Dangerous Dave for DOS, by John Romero
- Minecraft-ish Platformer Tiles by nkorth